I don’t dread this as much as I used to. I’m going to show you how I use my favorite automation tool to COMPLETELY automate my taxes. The tool is called: IF THIS THEN THAT or IFTTT for short! The way it works is, it allows you to connect different tools together. And just as the name sounds, it lets you set up “IFTTT applets” that look like this: IF “this happens” THEN “do” THAT
Here are 3 simple applets that will automate this process… no more stuffing receipts.
1. One-click: Take a picture of the receipt and upload to an organized folder on Google Drive.
Download the IFTTT camera app on your phone. Create a folder “Receipts” and a subfolder “2016” in Google Drive. Turn this applet on and edit it to put photos in the “Receipts/2016” folder.
Now, with one click your phone will take a picture of your receipt and upload it to your Google Drive folder. If you don’t have data, the app will wait for wifi to upload. Save your receipts the first year. Once everything goes smoothly this first time around, feel free to throw dem’ receipts out. ProTip: Create multiple versions of this applet with subfolders of different expense types. (“Receipts/2016/gas”, “Receipts/2016/restaurants”)
2. Add incoming email receipts to Google Drive
This applet will watch your inbox for emails. Any emails with “receipt” or “order” in the title will automatically go in your receipts folder. IFTTT will add a new row to a spreadsheet so you can keep track of the link to the original email.
Turn this applet on and press save. Edit it to put files in the “Receipts/2016” folder.
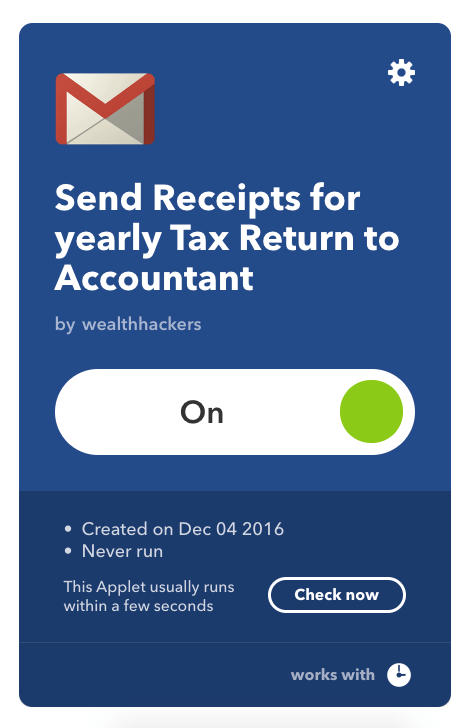
3. Send your accountant a timed email with the link to your receipts folder.
This last piece will finish off the automation process. Send your accountant an email every year with your receipts. Get an accountant to handle your income taxes at the end of the year. Make sure they allow you to send only electronic receipts of your purchases. Here’s an applet that will send them a friendly email with a link to your receipts folder. This last one you’ll have to create yourself.
From the My Applets page, click “New Applet”. Click “+this” and select Date and Time. Choose the “Every year on” box. Enter your favorite day in January. Click “+that” and select Gmail. Choose the “Send an Email” box. Then, enter the email to your accountant with a link to your Receipts folder. Click “Create Action” Click “Finish”.
You’re all set to go, make sure your accountant will take photos of receipts.
Bonus: Integrate more automation with Expensify
Expensify is service that keeps track of your receipts and expenses for your tax returns. Their free tier is great for personal use. The best part is, you can connect it with IFTTT. You can replace the One-click option by uploading to Expensify instead of Google Drive. Replace the “add incoming email receipts to google drive” with this custom applet. Forward incoming email receipts to Expensify.
From the My Applets page, click “New Applet”. Click “+this” and select Gmail. Choose the “New email from inbox in search” box. Enter “subject:receipt, subject:order” in the input and click “Create Trigger”. Click “+that” and select Gmail. Choose the “Send an Email” box. Then, enter the email to receipts@expensify.com. Click “Create Action” Click “Finish”.
I’ll leave it as an exercise for you to update sending an email to your accountant.
Conclusion
You should now be up and running with an automated tax return process. There are even more ways you can automate. If you need to record your trips in your vehicle, there’s an applet for that. Let us know if there are any additional tools you use to automate your finances.